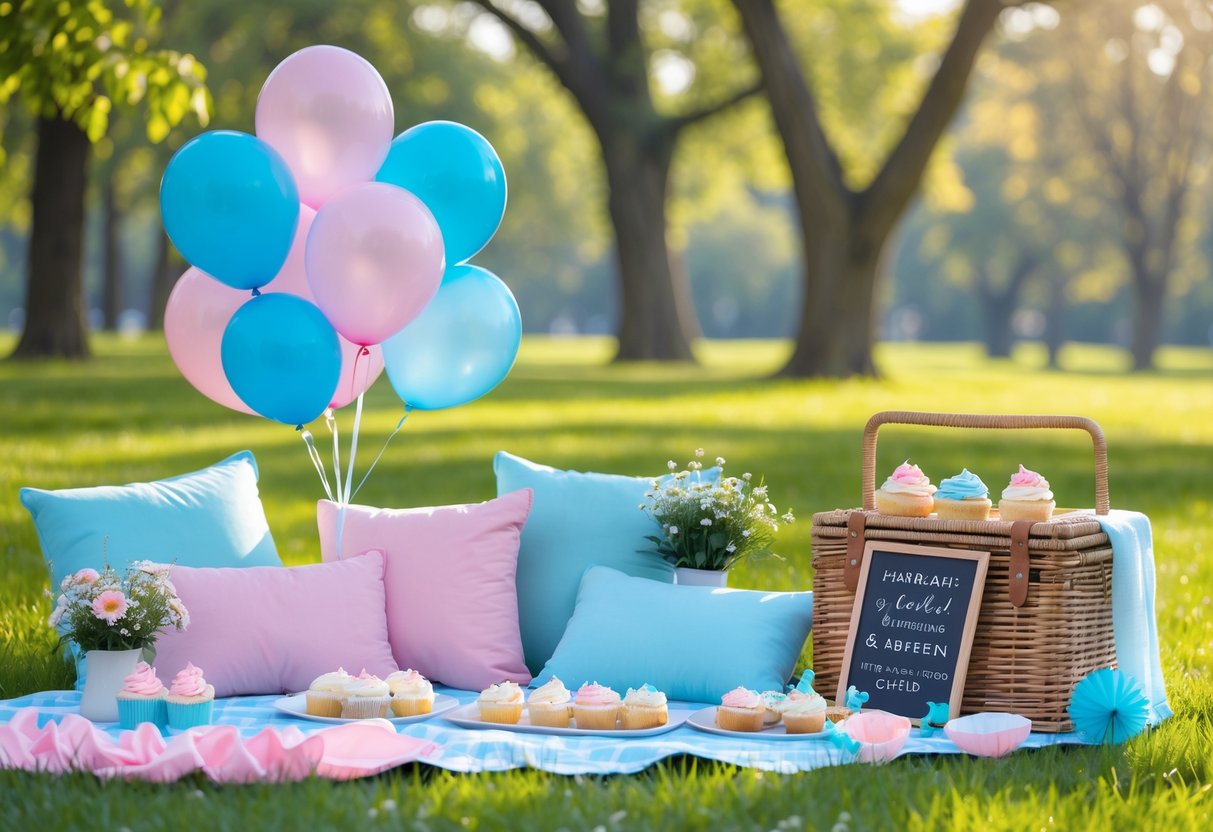
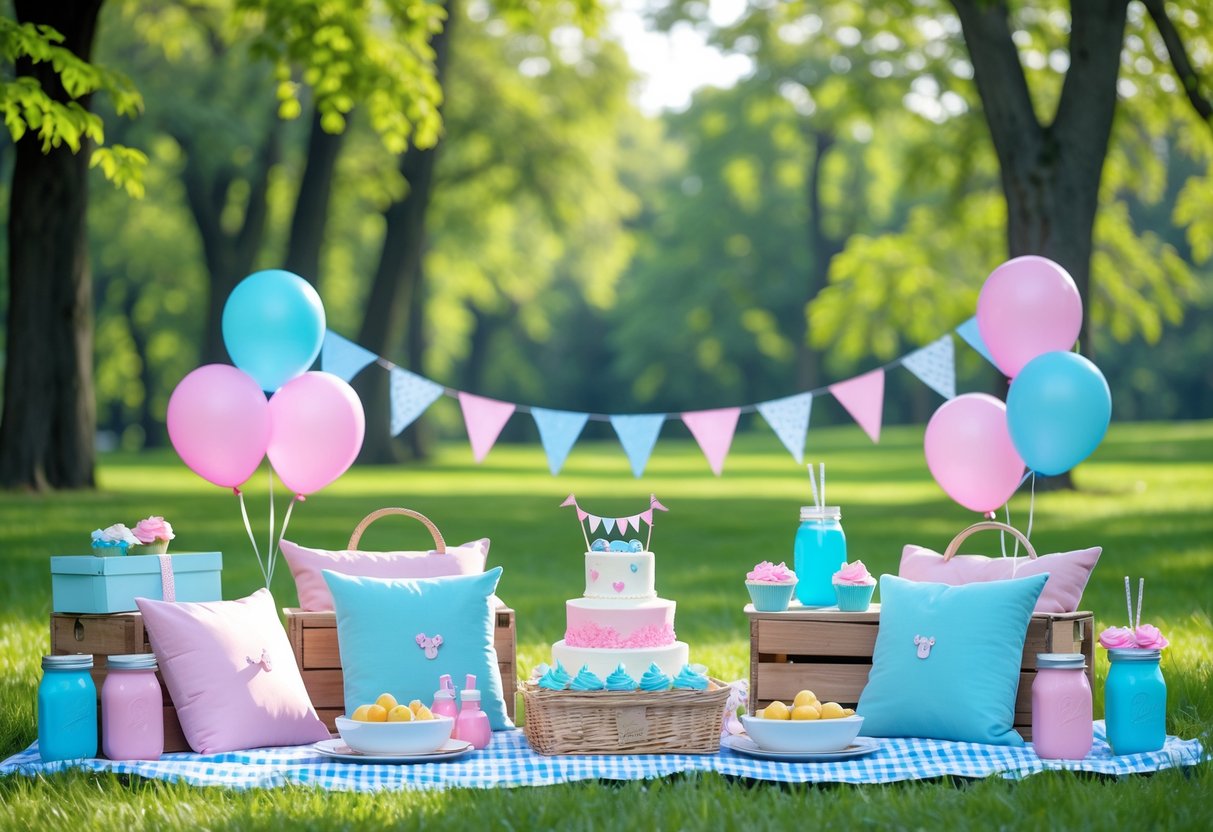
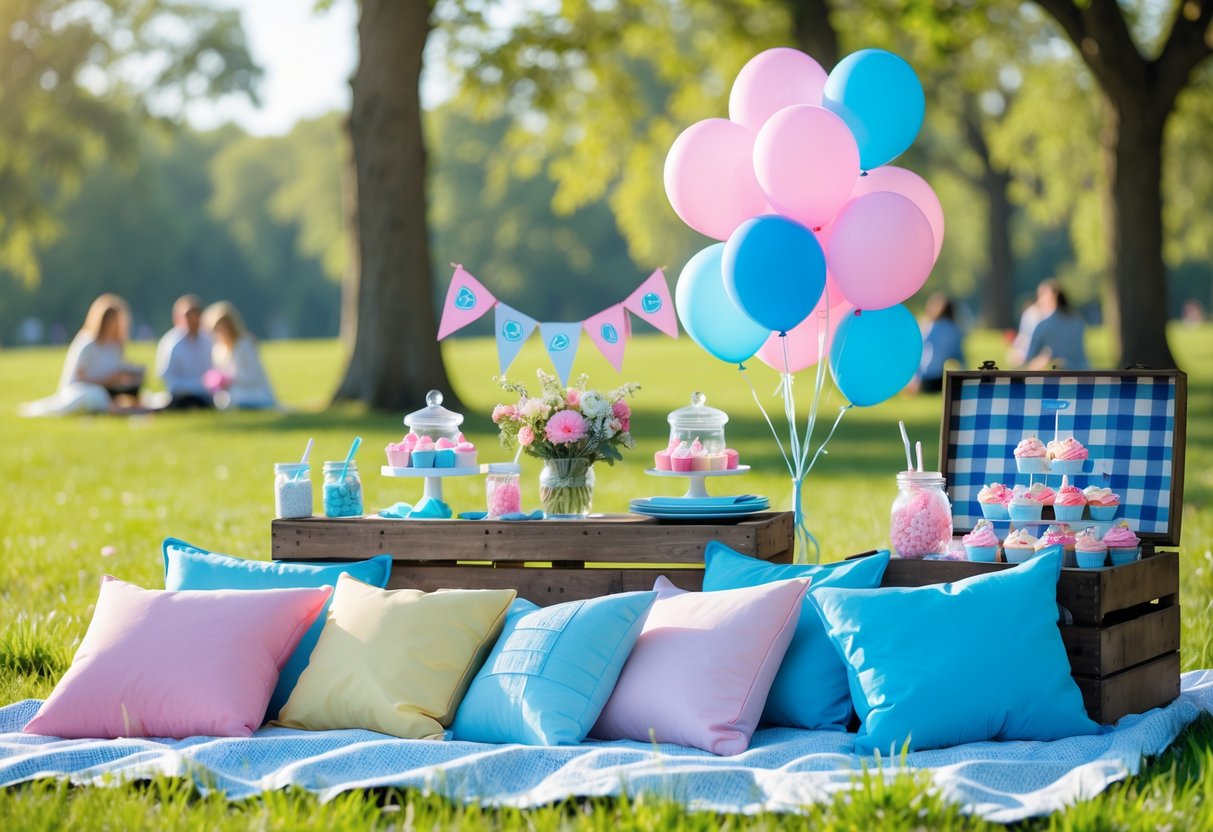
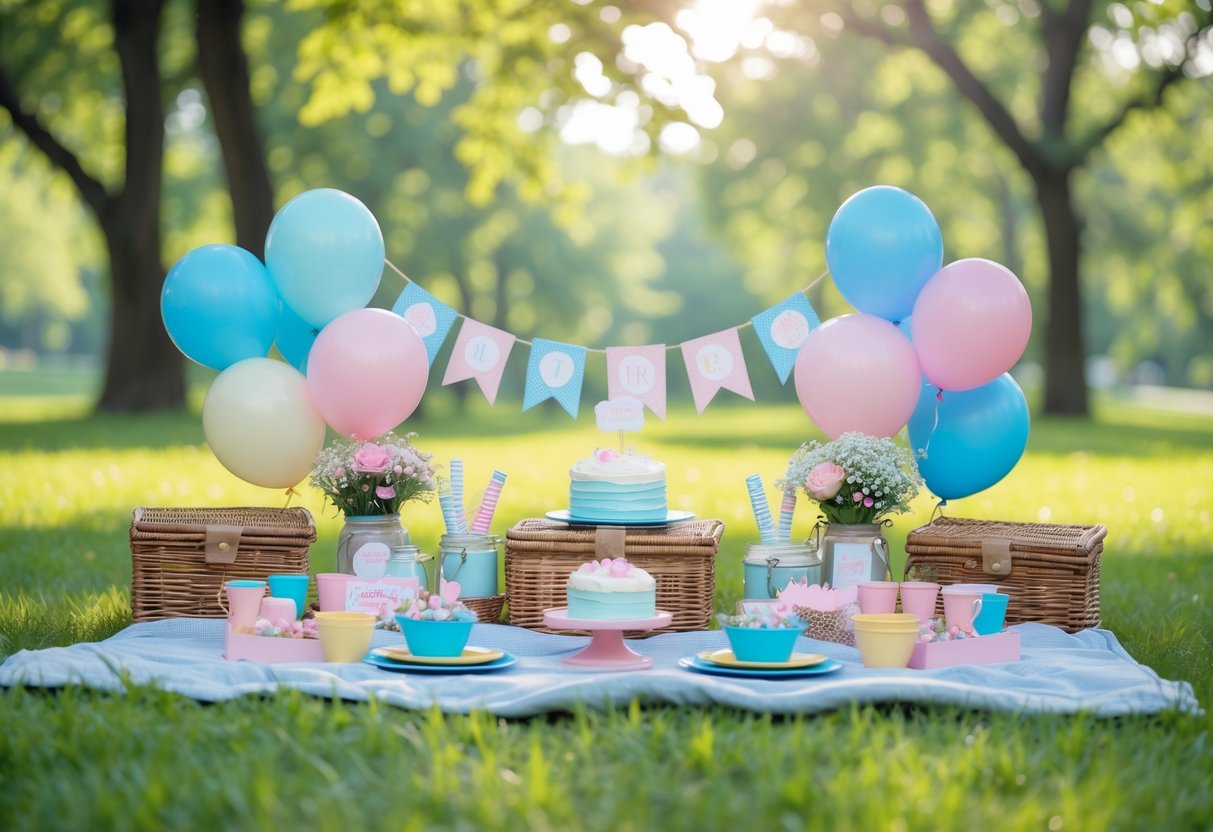
Planning a gender reveal picnic doesn't have to cost a lot of money or take weeks to organize. Simple DIY decorations like colored balloons, painted signs, and themed table settings can create the perfect outdoor celebration for expecting parents. The key is choosing easy projects that make a big impact.

A picnic setting offers endless creative possibilities for the big reveal moment. Parents can hide the surprise in everything from colored snacks to balloon releases. The relaxed outdoor atmosphere lets guests enjoy good food while building excitement for the announcement.
Budget-friendly solutions and smart planning tips help create memorable celebrations without stress. From interactive games to simple setup tricks, there are many ways to make this special day both beautiful and affordable.
Planning Your DIY Gender Reveal Picnic

Setting the date, choosing the right spot, and gathering supplies are the most important steps. Getting invitations out early helps guests plan ahead.
Choosing the Perfect Picnic Location
The right location makes a gender reveal party memorable and comfortable for everyone. Parks with pavilions work best because they offer shade and tables. Many parks let people reserve spaces for events.
Backyards give more privacy and control over the setup. Hosts can decorate however they want without park rules. The space should be big enough for all guests to sit and move around easily.
Beach locations create beautiful photos but bring extra challenges. Wind can blow decorations around and sand gets into food. Lake areas often have the same problems as beaches.
Consider these factors when picking a spot:
- Bathrooms nearby
- Parking for guests
- Electrical outlets for music or lights
- Weather backup plan
Guest List and Invitations
Most gender reveal parties work best with 15-30 people. This includes close family and friends who are excited about the baby. Smaller groups feel more personal and cost less money.
Send invitations 3-4 weeks before the party date. Digital invitations save money and reach people faster. Include the date, time, location, and any special instructions.
Tell guests the dress code if there is one. Some hosts ask people to wear pink or blue based on their guess. Others keep it casual with no color requirements.
Ask guests to RSVP one week before the party. This helps with food planning and seating arrangements. Include a phone number or email for responses.
Essential Supplies and Equipment
Basic picnic supplies form the foundation of any outdoor gender reveal party. Folding tables and chairs work when the location doesn't have them. Tablecloths protect surfaces and add color to the setup.
Coolers keep drinks cold and food fresh during hot weather. Bring ice packs for items that spoil quickly. Pack extra ice in separate coolers for drinks.
Food and Drink Supplies:
- Paper plates and cups
- Plastic forks and knives
- Napkins in pink and blue
- Serving spoons and tongs
- Trash bags and recycling bags
Decoration Essentials:
- Balloons in gender reveal colors
- Streamers and banners
- Photo backdrop materials
- Battery-powered string lights
Don't forget cleanup supplies like wet wipes and paper towels. Bring a first aid kit for small cuts or bee stings. Pack everything in clear bins so items stay organized and easy to find.
Creative Gender Reveal Picnic Decor Ideas

The right decorations transform a simple picnic into a memorable gender reveal celebration. Balloon displays create stunning backdrops, while confetti adds interactive elements and fairy lights provide magical ambiance for evening events.
Balloon Arches and Balloon Garlands
Balloon arches serve as perfect photo backdrops for gender reveal picnics. They create a focal point where guests naturally gather for pictures. A basic balloon arch requires around 80-100 balloons and takes 2-3 hours to assemble.
Pink and blue balloon garlands work well along picnic tables or fence lines. They use fewer balloons than full arches but still create visual impact. Garlands need about 40-60 balloons for a 10-foot span.
Helium balloons mixed with air-filled ones add dimension. The helium balloons float upward while air-filled ones stay in place. This combination creates a more dynamic look than using just one type.
Essential supplies include:
- Balloon decorating strip or fishing line
- Electric balloon pump
- Balloon sizing tool
- Command hooks or zip ties for hanging
Organic balloon arrangements look more natural than perfect geometric shapes. They work better for outdoor picnic settings where the goal is casual elegance rather than formal party vibes.
Colorful Confetti for Outdoor Settings
Biodegradable confetti protects outdoor spaces while adding bursts of color. Paper confetti breaks down naturally within weeks, unlike plastic versions that harm the environment. Rice paper and flower petal confetti dissolve even faster.
Confetti cannons create dramatic reveal moments. Hand-held versions work best for small groups of 10-15 people. Larger cannons suit bigger gatherings but require more cleanup afterward.
Tissue paper confetti costs less than store-bought options. A paper shredder turns colored tissue into perfect confetti pieces. This DIY approach allows custom color mixing for unique combinations.
Smart placement ideas:
- Fill clear balloons with confetti for popping reveals
- Scatter on picnic tables as centerpiece elements
- Use in DIY confetti poppers made from toilet paper tubes
- Hide in surprise boxes for guests to discover
Wind direction matters when planning confetti activities. Guests should stand upwind to avoid confetti blowing back at them during the reveal moment.
Fairy Lights and Ambient Lighting
Battery-powered fairy lights eliminate the need for electrical outlets at outdoor venues. LED versions last 6-8 hours on fresh batteries and produce minimal heat. They work safely around food and decorations.
String lights create magical atmospheres as daylight fades. Warm white lights complement both pink and blue color schemes without competing for attention. They highlight other decorations rather than overwhelming them.
Solar-powered options charge during the day and automatically turn on at dusk. They work well for events lasting into evening hours. Solar lights need direct sunlight for 4-6 hours to reach full charge.
Creative hanging options include:
- Wrapping around tree branches and trunks
- Draping between picnic tables
- Outlining tent or pavilion edges
- Creating light curtain backdrops
Lanterns and mason jar lights add rustic charm to picnic settings. Battery-operated tea lights inside mason jars create safe, flickering effects. They double as take-home favors for guests after the celebration ends.
Interactive Reveal Moments and Fun Setups
Gender reveal balloons create suspense when popped to release colored powder or confetti. DIY cakes and desserts serve as sweet centerpieces that hide the big surprise inside. Photo booth stations capture reactions and memories with themed props.
Gender Reveal Balloons and Confetti Cannons
Large black balloons filled with pink or blue confetti make perfect reveal moments. Guests can pop them with pins or darts at the same time. The confetti falls everywhere and creates excitement.
Confetti cannons work well for bigger groups. They shoot colored paper high into the air. Most cannons are easy to use and safe for outdoor spaces.
Balloon Setup Tips:
- Use 36-inch balloons for more confetti
- Fill with tissue paper pieces or powder
- Tie with ribbons that match party colors
- Have cameras ready before popping
Weather affects outdoor reveals. Wind can blow confetti away from the group. Rain makes cleanup harder and ruins the effect.
DIY Gender Reveal Cake and Dessert Centerpieces
A gender reveal cake hides colored filling inside white frosting. Vanilla cake works best with pink or blue frosting between layers. Guests see the color when the cake gets cut.
Cupcakes offer individual reveals for each person. Each cupcake has colored frosting inside. This works well for smaller groups who want their own surprise.
Easy Cake Ideas:
- Box mix with food coloring added
- Ombre layers from light to dark
- Hidden colored center with white outside
- Matching frosting and decorations
Dessert alternatives include colored cookies, macarons, or cake pops. These items are easier to make than full cakes. They also travel better to picnic locations.
Photo Booth Stations and Props
DIY photo booth props capture guest reactions during reveals. "Team Pink" and "Team Blue" signs let people show their guesses. Mustache and bow props represent boy and girl themes.
Simple backdrops work well outdoors. Streamers, balloons, or fabric create colorful backgrounds. Polaroid cameras give instant photos as party favors.
Essential Props List:
- Question mark signs
- Baby bottles and pacifiers
- Chalkboard with due date
- Fun glasses and hats
- Signs with baby phrases
The photo station should be near the main reveal area. This captures natural reactions when the gender gets announced. Good lighting is important for clear pictures.
Picnic Setup Tips and Budget-Friendly Solutions

Smart layout planning and weather preparation help create a successful gender reveal picnic without overspending. Simple comfort upgrades and safety measures ensure guests enjoy the celebration.
Layout and Comfort Considerations
Choose flat ground away from slopes or holes for safety. Place food tables in shaded areas to keep items cool. Set up the main reveal activity where all guests can see clearly.
Create seating zones using blankets, folding chairs, and cushions. Mix different seating options to accommodate various comfort needs. Space seating areas 6-8 feet apart so people can move around easily.
Budget-friendly seating solutions:
- Use old bed sheets as large ground covers
- Borrow folding chairs from friends and family
- Make cushions from old pillows and fabric scraps
- Rent chairs for $1-2 each instead of buying new ones
Position trash and recycling bins near food areas. Place hand sanitizer stations at table entrances. Keep the gift table away from food to prevent spills.
Use string lights or lanterns to mark pathways after dark. Battery-powered options work well for outdoor spaces without electricity.
Weatherproofing and Safety Essentials
Check weather forecasts three days before the event. Have backup indoor locations ready for severe weather. Bring pop-up tents or tarps for sudden rain protection.
Essential weather supplies:
- Tablecloth clips to secure decorations
- Weighted tent stakes for windy conditions
- Coolers with plenty of ice packs
- Sunscreen and bug spray for guests
Secure all decorations with tape, clips, or weights. Light items blow away easily in wind. Anchor balloons to heavy objects instead of letting them float freely.
Pack a basic first aid kit with bandages and antiseptic wipes. Bring extra water bottles for hot days. Keep perishable foods in coolers until serving time.
Set up food prep areas away from guest seating. Use separate utensils for different foods to prevent cross-contamination. Cover all food dishes with lids or plastic wrap until ready to serve.
Frequently Asked Questions
Planning a DIY gender reveal picnic raises many practical questions about decorations, setup, and activities. These common concerns cover everything from color schemes and essential supplies to creative food ideas and memorable games.
What are some simple decoration ideas for a DIY gender reveal picnic?
Balloons make the easiest and most affordable decorations. Use pink and blue balloons tied to picnic tables, chairs, and nearby trees.
Paper streamers work well for adding color without high costs. Hang them between trees or along fence lines to create a festive backdrop.
Mason jars filled with pink or blue flowers serve as simple centerpieces. Add battery-operated string lights inside empty jars for evening events.
Chalkboard signs with fun phrases like "He or She?" add personality. Write the messages with colorful chalk to match the theme.
How can one create a gender-neutral color scheme for a gender reveal picnic?
Yellow and green make perfect gender-neutral base colors. These bright colors work well for tablecloths, napkins, and decorations.
White and gold create an elegant neutral theme. Add touches of both pink and blue through small accents like ribbons or flowers.
Rainbow colors celebrate the surprise without favoring either gender. Use rainbow streamers, balloons, and tableware for a cheerful look.
Orange and purple offer a unique twist on traditional colors. These colors feel festive while staying completely neutral.
What are essential items needed for setting up a gender reveal picnic?
Tables and chairs provide the foundation for any successful picnic. Rent or borrow enough seating for all expected guests.
Tablecloths protect surfaces and add color to the setup. Choose plastic ones for easy cleanup after the event.
Coolers keep food and drinks at safe temperatures. Pack ice packs and beverages the night before the event.
Trash bags and recycling bins help maintain a clean space. Set up multiple stations around the picnic area for guest convenience.
A portable speaker plays music and announcements during the reveal moment. Test the battery and volume levels before guests arrive.
How can I incorporate a gender reveal element into the food served at the picnic?
Cupcakes with colored filling create excitement when guests bite into them. Fill vanilla cupcakes with pink or blue frosting using a piping bag.
A cake with hidden colored layers provides a classic reveal moment. Bake white cake layers with food coloring mixed into the batter.
Colored drinks surprise guests throughout the meal. Serve pink lemonade or blue punch in clear glasses or cups.
Cookies with colored centers add individual reveals for each guest. Use sugar cookies with colored jam or frosting in the middle.
Fruit kabobs arranged by color create natural pink and blue sections. Use strawberries and raspberries for pink, blueberries for blue.
What are some creative and cost-effective game ideas for a gender reveal picnic?
A guessing game jar lets guests vote with colored balls or slips of paper. Count the votes before the big reveal moment.
Baby bottle bowling uses empty bottles filled with colored water as pins. Guests roll a ball to knock them down for prizes.
Diaper changing races create laughter while using baby dolls and real diapers. Time each team to declare winners.
Baby food tasting challenges guests to identify flavors while blindfolded. Use common flavors like apple, banana, and carrots.
A memory game tests knowledge about babies with simple trivia questions. Prepare questions about baby facts and parenting tips.
How can I ensure my DIY gender reveal picnic is memorable and unique?
Personal touches make events special and meaningful. Create custom decorations that reflect the parents' hobbies or interests.
Photo opportunities capture important moments throughout the day. Set up a backdrop with props for guests to take pictures.
Involve family members in the reveal moment itself. Have grandparents or siblings help with cutting the cake or popping balloons.
Create keepsakes for guests to take home. Small bags of colored candies or personalized cookies work well as favors.
Document the planning process and final result with photos and videos. These memories become precious as the child grows up.


